What is hand screen printing? How to do hand screen printing?
What is hand screen printing? How to do hand screen printing?Hand Screen Printing is a technique that allows to print, with greater accuracy, large and bright images on any type of fabric. Hand Screen printing is made with just a frame, inkWhat is hand screen printing?
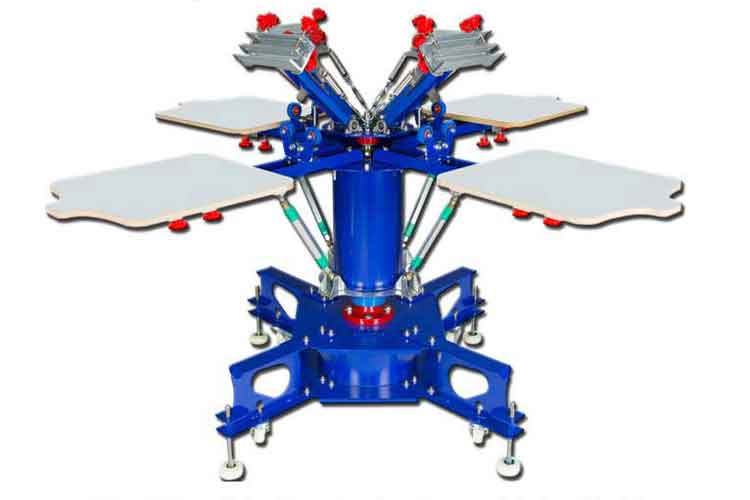
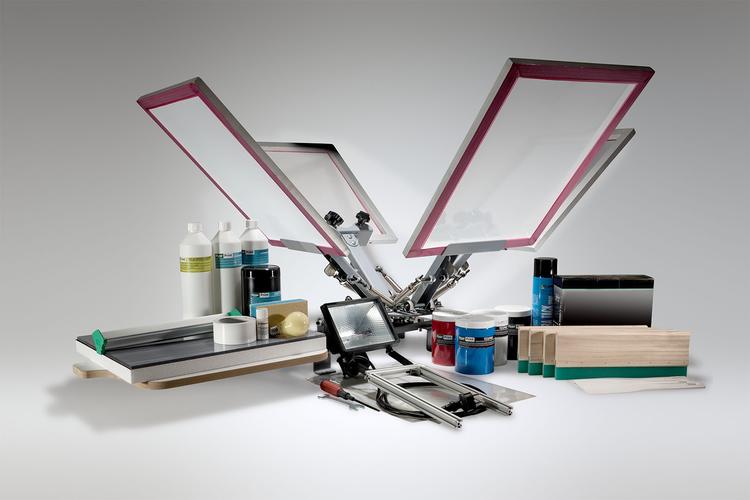
Hand Screen Printing is a technique that allows to print, with greater accuracy, large and bright images on any type of fabric. It is an ancient technique, that has evolved over time and is still one of the most common for textile printing. Hand Screen printing is made with just a frame, ink and a stencils. The stencil is the negative of the image you want to print and is in waterproofing material. After mounting the fabric on the frame and placing the stencil, the ink is spread. The operation have to be repeated several times if working with multiple colors. In this case, the fabric must dry completely between one color and the next. The technique of Hand Screen Printing, while being less prone to human error, requires a high level of competence: the craftsman who makes the press must be familiar with the pigments used and the fabric, to be sure of obtaining a good results.

How to do hand screen printing? hand screen printing process What is the process?
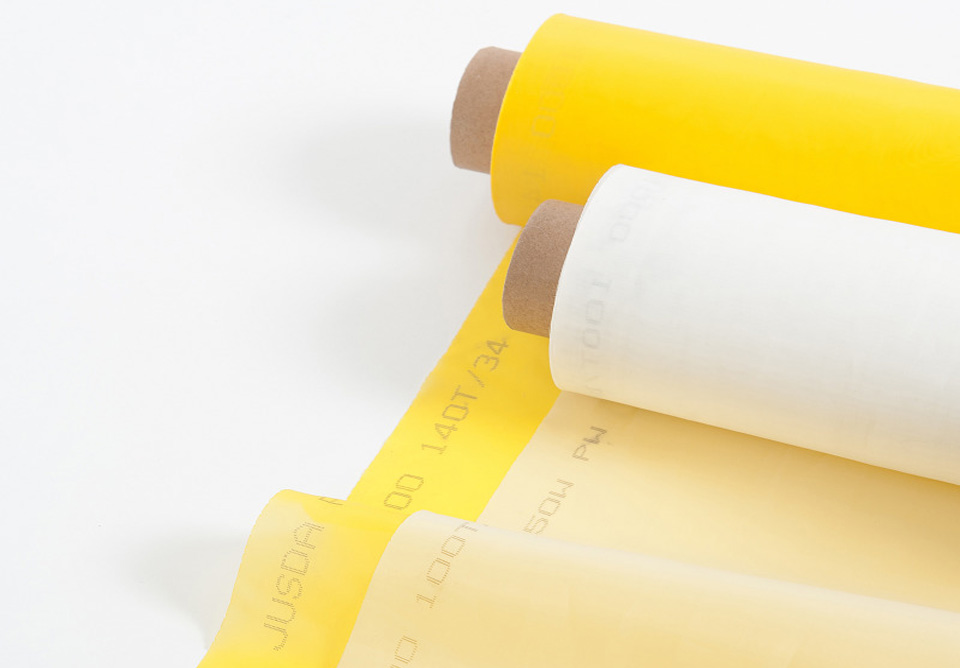
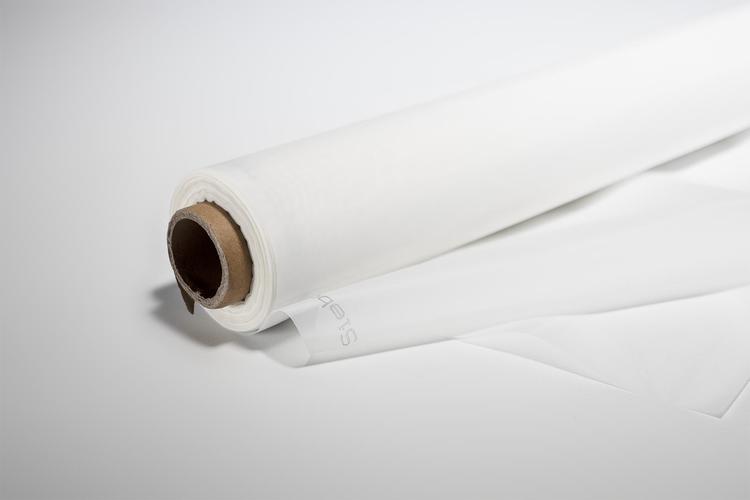
1, check the screen printing screen
First of all, the first step in hand printing is to check the sealant condition of the printing plate, whether the printing plate is broken or not, the looseness of the printing plate and the bottom plate, whether the mesh distance is proper, whether the positioning of printing rules is correct or not, .
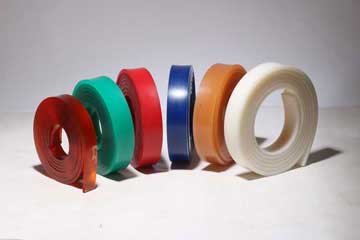
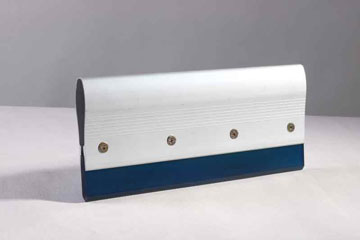
2, screen printing scraper selection
Hand screen printing must choose the right screen printing squeegee. Screen printing scraper length should be slightly longer than the printed graphic, different substrates should choose different shapes of scraper. Rubber squeegee should have some flexibility, in order to facilitate the screen and the substrate contact properties, so that the ink evenly. Scrapers require smooth formation, such as uneven application of sandpaper grinding, scraper material optional 5mm acid rubber production.
3, printed material preparation
Hand screen printing material preparation should be based on printed material and printing requirements to determine the type and composition of the deployment of the key is color, adjust dryness, viscosity adjustment, and strive to meet the requirements of scratch. The printed material should be adjusted first, stored for one day, to make it stable performance, except gold. Should also check whether there is any foreign material in the print to prevent scratches when printing plate.
4, Hand screen printing cast screen printing materials
Screen printing materials generally fall in front of the network frame at the starting position and within the width of the blade, the frame can not be placed too much printed material, ready to add to facilitate the control of the amount of ink scraping operation is easy.
5, Hand screen printing scraping
① hand-held substrates placed on the board with the rules, put down the screen frame, leaving a certain network between the plate and the screen spacing.
② hand squeegee pressed against the screen, squeegee scraper should maintain a 50-60 ° angle, the scraper to a certain speed for ink scraping movement, the printing material in the scraper pressure, from the hollow part of the screen mesh hole In the leak printed to the substrate, after the squeegee scrape the screen rebound and substrate separation. Depending on the size of the printing area and the length of the scraper, you can take one or both hands scraping operation, but to control the amount of printed material, plate layout to scratch clean, can not have printed material left in the plate of the graphic office.
③ Lift the mesh frame, remove the substrate from the platen.
6, scrub screen
Hand screen printing process, found blots and mesh clogged, they have to scrub the plate, with a degreasing cotton or soft cloth dipped in solvent gently wipe both sides of the screen, scrubbing should first scrub graphics, and then scrub other places. Both sides of the plate should be scrubbed clean, plug the network to clear, and blot the solvent on the plate. After the Hand screen printing is completed, the plate should also be scrubbed clean.
7, color printing
Hand screen printing sets of color printing for color sets of color printing to distinguish between the ink color printing level, in general, should be printed after the light-colored printing dark, the first printed after the main India, printing plate in the system should be arranged. Set color version must be overprinting accurate, especially the first color version of the rules to be printed very accurate. In a mixed-color scratch, should be considered mixed color to change the version of the plate on the form, in order to facilitate scraping.
8, Hand screen printing is completed after the dry
Hand screen printing should be carried out after each printing dry, but the middle of the two-color drying only requires printing on the Road will not be stained on Road Road, the last dry but also consider the outer layer of dry, in order to ensure the adhesion of ink fastness. Some substrates due to climate change easily inflated and contracted, such as overprinting is not timely, prolonged shelving can cause overprints are not allowed, which should be noted when dry.
screen printing hand screen printing
Pre:How to use properly best way to clean screen printing screens?


Tags: